Building a Small Plywood Boat: Easy and Affordable Plans
Hey there, fellow builders! Ever dreamed of crafting your own boat? It might sound daunting, but building a small plywood boat is totally achievable, even if you're a beginner. This guide will walk you through the process, making it easy and affordable. Let's dive in!
Choosing Your Design
Before you grab your saw, you need a plan! There are tons of free plans online for simple plywood boats â€" canoes, dinghies, even small rowboats. Search for "free plywood boat plans" and you'll find a treasure trove. Look for plans that clearly show dimensions, materials, and assembly instructions. Consider your skill level â€" a simpler design is a great starting point.
Factors to Consider:
- Size: How big do you want your boat? A smaller boat is simpler to build.
- Type: Canoe? Rowboat? Something else? Each has different construction challenges.
- Skill Level: Choose a plan that matches your experience with woodworking.
Gathering Your Materials
Once you have your plans, you'll need to gather your materials. This is where you can save money by sourcing materials strategically.
Essential Materials:
- Marine-grade plywood: This is crucial! Regular plywood won't hold up to water.
- Wood screws: Use exterior-grade screws designed for marine use.
- Wood glue: Opt for waterproof wood glue.
- Epoxy resin (optional but recommended): This adds extra strength and waterproofing.
- Fiberglass cloth (optional): For added durability and a smoother finish.
- Paint or varnish: Protect your boat from the elements.
- Tools: You'll need basic woodworking tools like a saw, drill, sandpaper, clamps, and measuring tape.
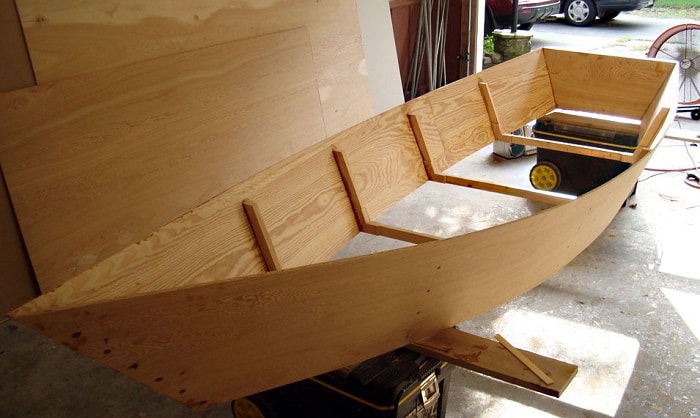
The Building Process: A Step-by-Step Guide
This part obviously depends on your chosen plan, but here's a general overview:
Step 1: Cut the Plywood
Carefully cut the plywood pieces according to your plans. Use a sharp saw to get clean cuts.
Step 2: Assemble the Frame
Follow the plan's instructions to assemble the boat's frame. Use plenty of wood glue and screws for a strong, watertight joint.
Step 3: Add the Bottom and Sides
Attach the bottom and sides to the frame. Ensure everything is aligned and secure.
Step 4: Seal and Finish
Apply epoxy resin (if using) to seal the seams and add strength. Then, sand smooth and apply paint or varnish for protection.
Testing and Launching
Before you take your masterpiece out on the water, test it in a controlled environment. Fill it with water to check for leaks. Address any issues before your maiden voyage. Once you're confident, it's time to launch! Remember safety first â€" always wear a life jacket.
Commonly Asked Questions
Q: How long does it take to build a small plywood boat?
A: It depends on the complexity of the design and your experience. Simple designs can take a weekend, while more complex ones may take several weeks.
Q: Can I use regular plywood?
A: No, you absolutely need marine-grade plywood. Regular plywood will rot and fail quickly in contact with water.
Q: How much does it cost to build a small plywood boat?
A: The cost varies greatly depending on the size and materials, but you can likely build a small boat for under $200-$500.
Q: What if I encounter problems during construction?
A: Don't panic! Consult your plans carefully, search online forums for advice, and don't be afraid to ask for help from experienced woodworkers.
Happy building!
0 comments:
Post a Comment